Hello!
All of the the things I am going to show below me all comes from a platform called blender. You can do amazing things in this, such as modeling, animation, and more! However, it is definitely not as easy as it first seems at a glance. Before starting my genius hour project is when I first realized I actually had a passion for computers and modeling. This project is giving me the incentive to be consistent with using the platform and getting familiar with it. This page will demonstrate all of the things I have learned using the platform, and I will be going into deeper detail that in my blogpost.
All of the the things I am going to show below me all comes from a platform called blender. You can do amazing things in this, such as modeling, animation, and more! However, it is definitely not as easy as it first seems at a glance. Before starting my genius hour project is when I first realized I actually had a passion for computers and modeling. This project is giving me the incentive to be consistent with using the platform and getting familiar with it. This page will demonstrate all of the things I have learned using the platform, and I will be going into deeper detail that in my blogpost.
1. The Beginning
|
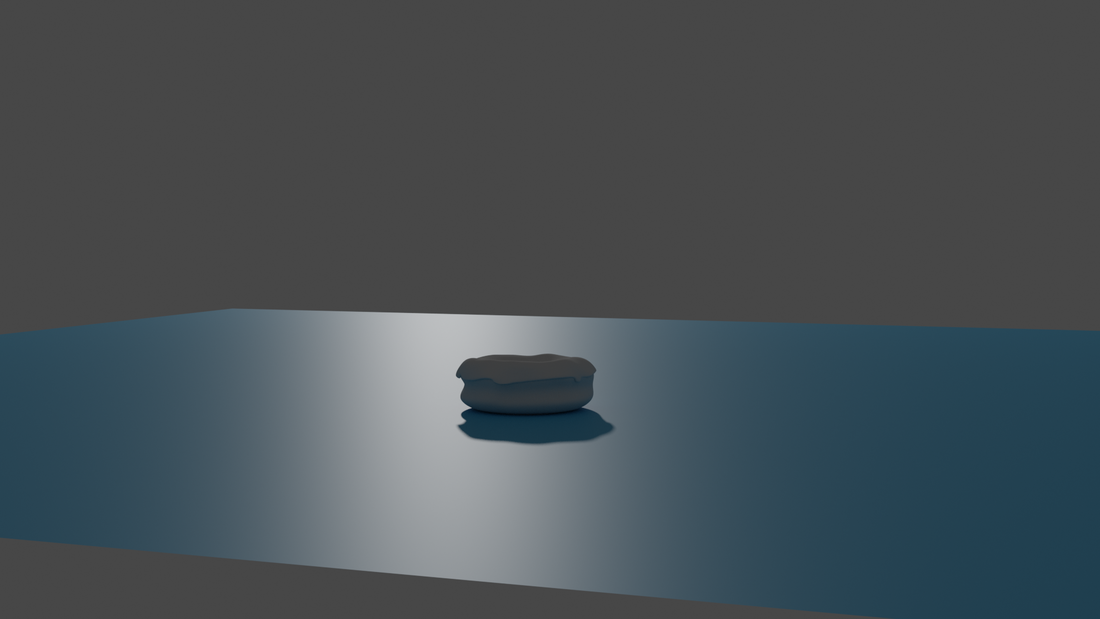
As I said, I have had only been using this platform for about 5 hours before starting this project, so it is safe to say I am a beginner. Most people start with the legendary donut, which anybody can do, right?
My decision was to start with something simple, and to do as much as possible without having to look at tutorials. I can say for the basics, such as adding a shape, editing, playing around with the size, and adding a simple tile, was something I could perfectly do by myself. I would say that the only part I needed to cheat here was the sculpting, you can see that the donut has a line going across the middle of it, which most donuts have (I just realized how many times I am going to say donut). Nothing special happens here, it lacks many things such as color, proper camera angles, and more. Most people would easily be able to do this, but I think that very few people would be interested in these sort of things. |
2. The Donut lacks Donut
|
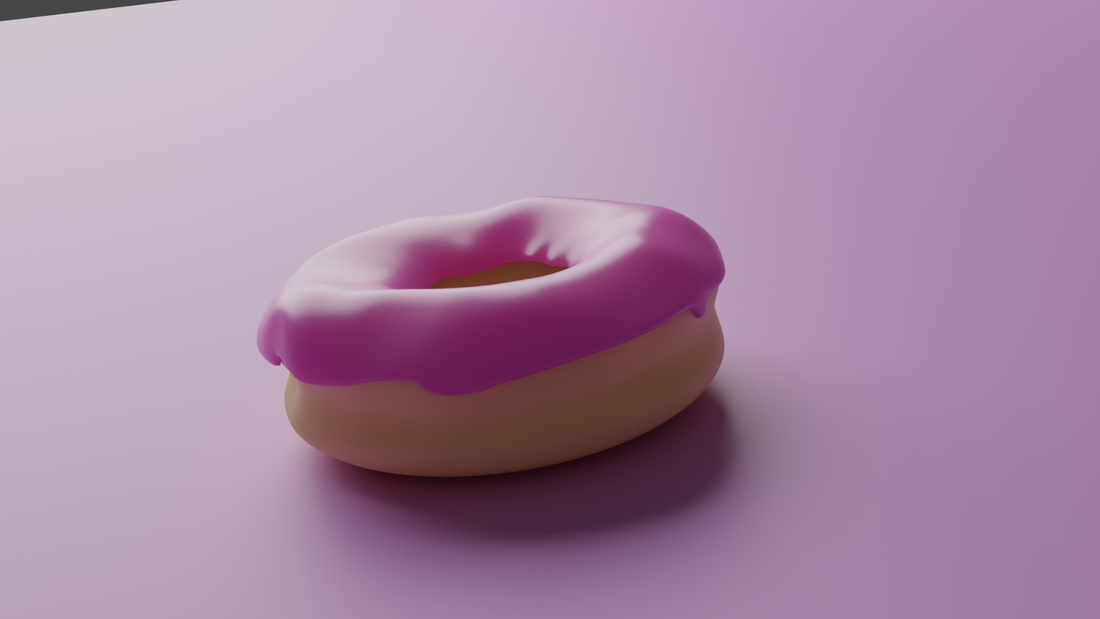
There are different selections to choose from when your modeling. There is object mode, sculpt mode, and edit mode. Edit mode is what you can use to stretch certain parts of an object, because every object has a certain amount of vertices you can use. I used editing mode on the frosting. If you look at most pictures the frosting is very droopy. You choose a selection of vertices and pull it down, and bam, realistic frosting.
Coloring is also (fairly) important for a donut, no problem when coloring it, of course a donut just not have one color for a dough, which is where texturing will come into later. You could also adjust the roughness of something, you could either make it shiny or rough, so I made the frosting shiny and nice. Now how I got this image is a different story, it is not just a screenshot. I took this image with rendering. Rendering is the process of turning a 3D scene into a 2D image. You would have a camera which you can move around all over to get the angle you want, and then you press a render button. There are different engines when rendering, cycles is the platform you want to use when you want the most accurate lighting. Talking about lighting, there is also an object included which is your light source, you can have multiply light sources with different amounts of strength. I have decided to go with one. You can move the light all around, in all directions. This can make your scene look brighter, and vivid, or make your shadows more pronounced. |
3. Sprinkles Galore
|
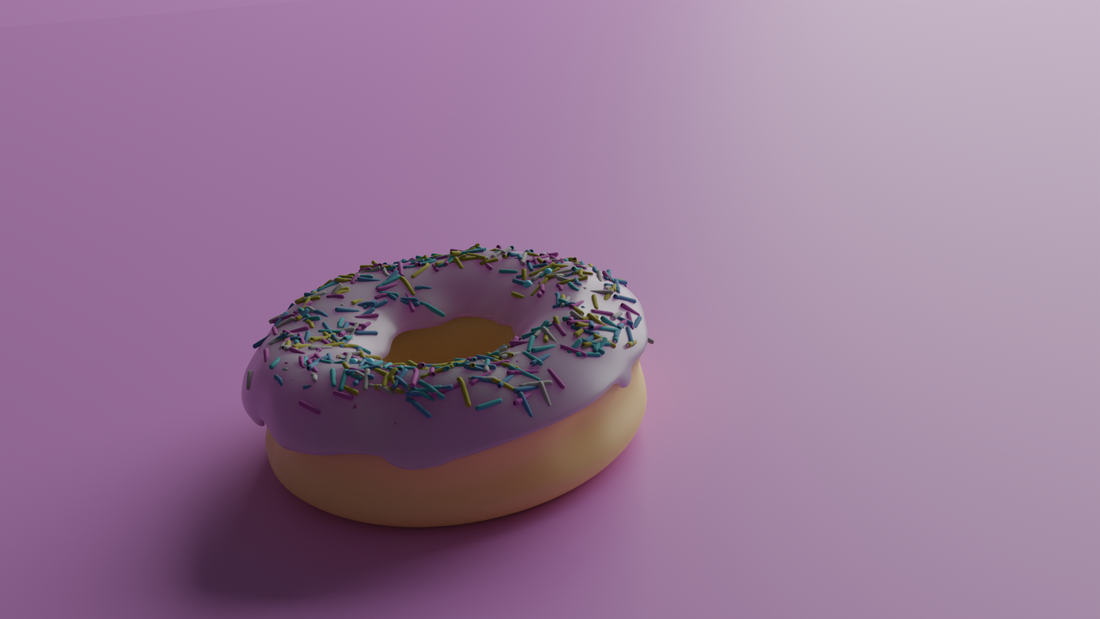
Particles is what I used in order to make the sprinkles. Particles are practically many of the same object, which then can be adjusted to have random shapes, sizes, anc count. Particles are perfect for sprinkles, because no sprinkle is the same. Particles are definitely not perfect however, if you look closely some sprinkles are going into the donut, which is problematic and there is sadly no solution to my knowledge.
If you look closely here you can see that these sprinkles are in different sizes. When using particles you have different base models you can use, and you can use multiple models. I have 4 base models, a small, a curved small, medium, and a curved large sprinkle. This adds more detail because no two sprinkles are the same. |
4. Texturing


|
Texturing was for sure the most advanced thing I have done when doing this beginner project. I had to look at plenty plenty of tutorials of what you had to do. One thing that I had to get familiar to is noding. Consider it to be like baking; where you need different components to make an end result. The way it gives the texture is bumping, which is exactly how it sounds. It gives small displacements on it in order for it to look realistic.
The color of the donut was originally a orange sort of color. Of course, a donut does not have one single color. When looking at a reference for it I could tell that a donut is fairly uncooked in the middle of it. I could also see that some areas on the outside are darker and burnt than other areas. When painting, you could either paint on the donut itself, or you can paint on the UV Mapped part of it, which is the rectangle you see on the left. I kept the sort of orange color, and then I drew the uncooked part with a white line, and I added a darker orange at random to add realism. I have finished with my donut after I did this. |
5. More advanced modeling
|
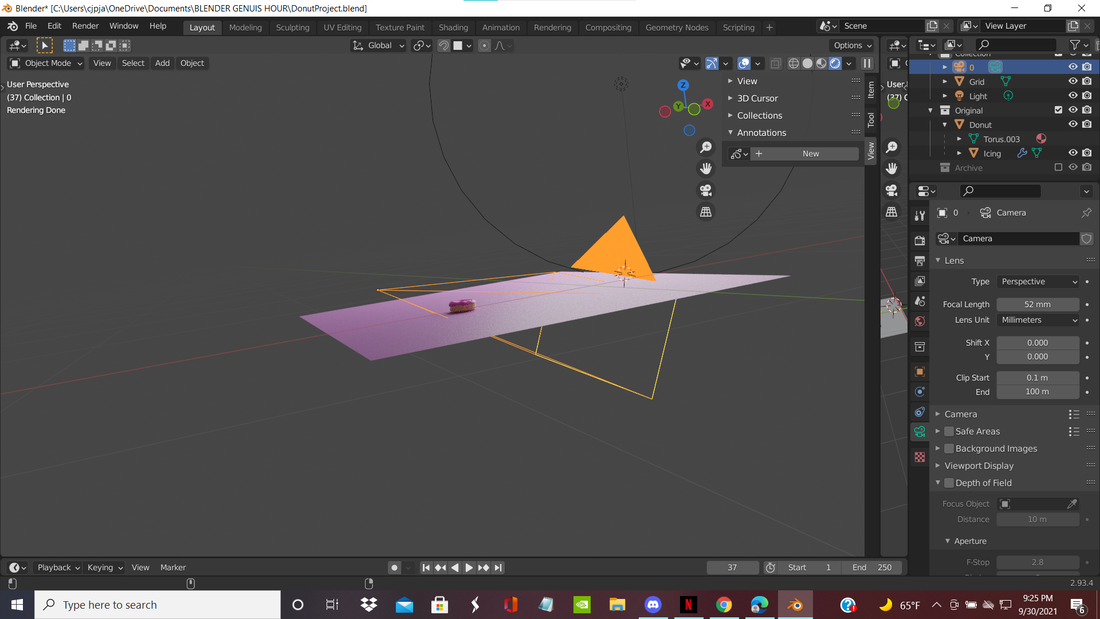
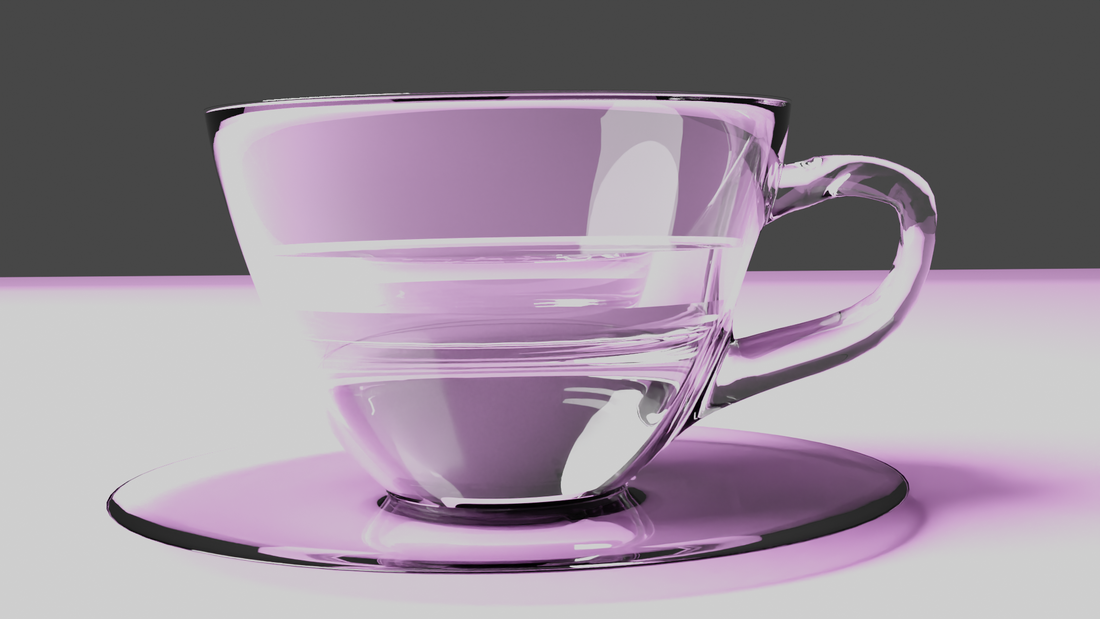
The coffee cup was made so I could prove that I could actually model, because of how intricate the shape of it is. Well, come to find I struggled a bunch when making the handle specifically. I spent a solid hour on just the handle, because it would not cooperate at all. What helped me however was a feature I added called a reference photo. It is exactly how it sounds, you add a 2d image into the platform which can give you a basis of how you are supposed to model it.
No color was needed whenever making it, I made it transparent. Liquid was not terrible either. I made a copy of the shape of the cup, made it smaller and changed color and messed with some noding. Attempts were made with adding more features on the coffee cup, condensation was something I wanted to add real badly but that was a disaster. I also tried to make foam using a tutorial but it did not work, like at all, it never did anything. So overall it just looks like black coffee but I guess that is fine. |
6. Making The Scene/ Finalizing The Scene

|
Making the background was a breeze, thanks to a website you can get free textures and there just happened to be a brick texture, which worked out perfectly. Same thing with the marble table. Photorealism is the rendering of images in a very realistic way. Messing with camera settings helped with this situation. I changed the resolution of the image into a 1080 x 1080 size because it seemed more appropriate because it just needed to focus on the two main objects.
Animating was surprisingly one of the easiest parts of the project. The plate motion was a simple pin point animation and it would start out of the camera facing one way, and at the end where the plate is spinning another way. I attempted to find a way to decelerate the movement whenever it stopped, and I would say it looks okay. Rendering the animation took quite a while. There were 33 frames total present in this animation, so there is 33 pictures needed to be rendered. Each pictures took up to 3 minutes to render so it took around an hour and a half. Compositing the animation is where your take the 33 pictures and they combine and smooth in in the video editor embedded in blender. This marks the end of my first project. |
7. New Project: Low Poly


|
There are many different art styles that come in blender, whether it is realistic or giving it a sci-fi look. My donut project I would say is a realistic project, and I was pretty convinced myself. Mr. Poller, one of my current teachers, gave me the idea of making a low-poly build. A low-poly build is supposed to be in a realistic setting (not always) but is supposed to be compiled of basic shapes. I could make another realistic setting, but that would just take the rest of the genius hour project.
I decided to create my own setting, and I knew that I wanted a road at first. I created the road, and came up with the idea of adding a tunnel. The tunnel went through many renovations, but at the end I was satisfied. I wanted a night time setting because I wanted lights to be there to give it more of a vibe. That's why I created buildings with light up windows using a "radiation" key which sounds weird but it does a good job showing light. I also liked my police car, which probably took the most amount of time in this project. The finalization consisted of changing camera angles, giving the tunnel wall a texture, and a blue tint lighting to give it more of a night time looked. This project took about 1 and half weeks and overall I am very satisfied for it being my first low-poly project. |
